
As a business owner, you have to take care of many different things in order for everything to function in the right way, including various administrative tasks. Invoicing is an integral part of the job and ensures that you get paid for your product or service, which is a great thing.
However, it often happens that the invoice you sent to the client is not paid on time, because it does not seem clear enough to the other party. What happens then is that they put it aside and wait for the last minute to pay.
That is why today we talk about five tips and tricks for creating your own professional invoices that will increase the chances of being paid on time.
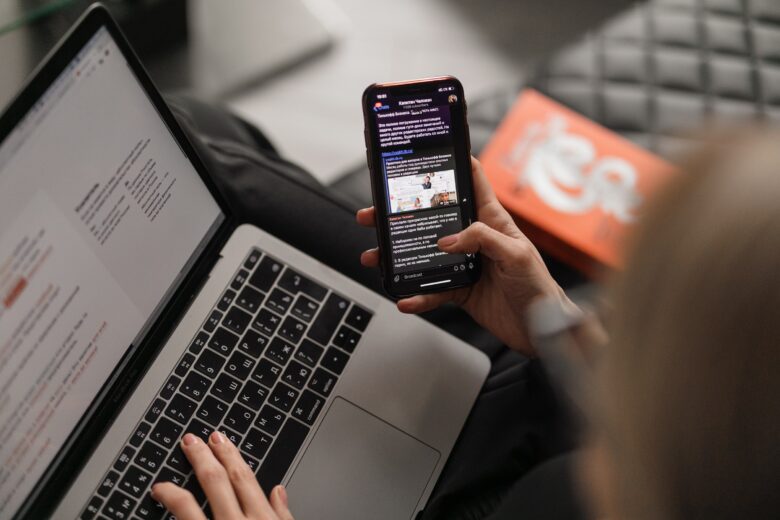
1. Choose the system that works for you

Although technology dominates our lives in the 21st century, some business owners still avoid switching from paper to computer. This is a bad thing because this way, they often lose a lot of time and money without even being aware of the damage they are making for themselves. If you want to keep up with the technology development and use it to improve your business, we suggest you choose the invoice system that suits you.
Nowadays, you can very easily find a receipt maker that will allow you to create invoices very easily and quickly. The good news is that everything works electronically, so you can forget about going to the post office every now and then and enjoy the comfort that this way of organizing payments provides you.
At this link, you can find a free invoice template that will help you understand how they should look and manage this part of the business much more effectively in the future. Try to make things easier for yourself instead of staying in the comfort zone and working with paper and pencil, which definitely isn’t helping your business to grow.
2. Organize them in the best possible way
Once you have chosen the system that works best for you, it is time to start entering data and organizing invoices so that they are ready to be sent in the future. Remember – the whole point of managing payments this way is to speed up the process and help your business be better organized.
That way you don’t have to enter data manually every time and waste time on techniques. Automate everything you can, because then you will have time to dedicate to some more important things. Enter all the necessary information about your client: name and surname, addresses (both billing and mailing), email, and the payment method they have chosen.
Double-check all the data and save it for future invoicing. Next time, you’ll only need to enter the exact information about the products and amount of money. This will also make your invoices look more professional, as it will prevent mistakes. You don’t want to enter the wrong address, or you get the wrong client name. You can agree this can be very embarrassing and affect your relationships with clients. That’s why managing payments this way can be a life-saver.
3. Don’t forget about the branding

While invoicing may seem like a purely administrative, tedious job for many people, the fact is that it is much more than that. Don’t forget about branding and personalizing all the documents you use and send to your clients, including invoices.
This is especially true for business owners who have some kind of design jobs (for example, graphic design), but also for everyone else who wants their business to look professional in the eyes of clients. If you want to leave a positive impression and gain the reputation you want, we suggest that all documents be uniform, contain a similar style in terms of the font and colors you use, as well as contain your logo. It doesn’t matter how small your business is. It can never be too small for high-quality branding and professional-looking documents.
4. Highlight the most important information
If you often have to deal with customers who are delaying their payment and you want to prevent it from happening in the future, it is a good idea to think about how you can create an invoice that will have all the important information clearly highlighted.
From your perspective, the most important information should be the amount the client has to pay as well as the payment deadline. Make sure that this data is bolded or highlighted using a larger font than for the rest of the data.
This will send a clear message to your customers, and with a little luck, they will no longer be late with payments. Another practical option is to separate this information on the invoice from the rest of the information by putting it in a separate section so that it is optimally organized and highlighted for the other party.
5. Remind your clients about the payment after the due date has passed
In case you notice that the payment deadline has expired and that the payment has not yet arrived from the client, it is time to start sending reminders. You can do this by phone call or email.
This is another way to make the whole billing process look more professional, as you let the other party know that you are serious about this and that it is time to pay the agreed amount. Be flexible, but have your own standards and deadlines that you don’t deviate from, and then show that to your clients as well.
Conclusion
Although invoicing is a pretty tedious, administrative job, it is necessary to perform it on time in order for your business to function properly. We suggest that, if you haven’t already, forget about paper and pen and switch to electronically charging for your services and products.
You can find a free invoice template on the Internet and use it to make an invoice you like and works for you. Include all the necessary information about the client, but don’t forget that these documents are a great way to do branding and push the development of your business in one more way.